Split Roof Revit
Split Roof In Revit Paul F Aubin

Split Gable Roof Autodesk Community Revit Products

Solved Roof Doesn T Meet Autodesk Community Revit Products

Solved Extruding A Roof With Different Slopes And Thickness In Both Directions Autodesk Community Revit Products

Roof Panel Layout Agacad

Solved Slope On Roof Created On Mass Face Autodesk Community Revit Products
Auto suggest helps you quickly narrow down your search results by suggesting possible matches as you type.
Split roof revit.

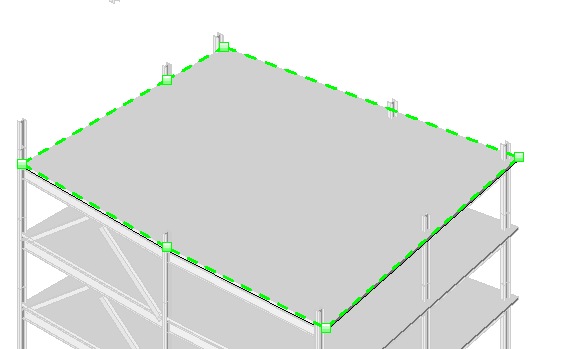
Shape Editing For Floors And Roofs Revit Products Autodesk Knowledge Network
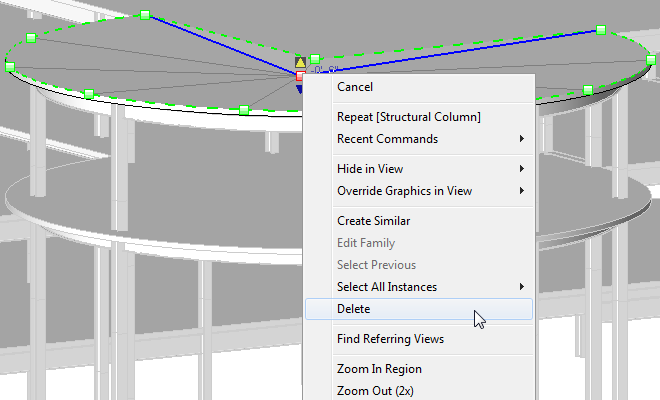
Split A Roof Or Structural Floor Revit Products 2018 Autodesk Knowledge Network

10 Common Roof Shapes Modeld In Revit Tutorial Youtube

Revit Roof Basics 04 Intersect By Roof Join Cadclips Youtube

Solved Drawing A Complex Roof In Revit Autodesk Community Revit Products

Solved Gable Roof Edit Question Autodesk Community Revit Products

Solved Revit Keeps Splitting Roof Autodesk Community Revit Products

Revit 2017 Cool Gable Roof Tip Cadclip Youtube
Video Shape Editing Roof And Floor Slabs Revit Products 2019 Autodesk Knowledge Network
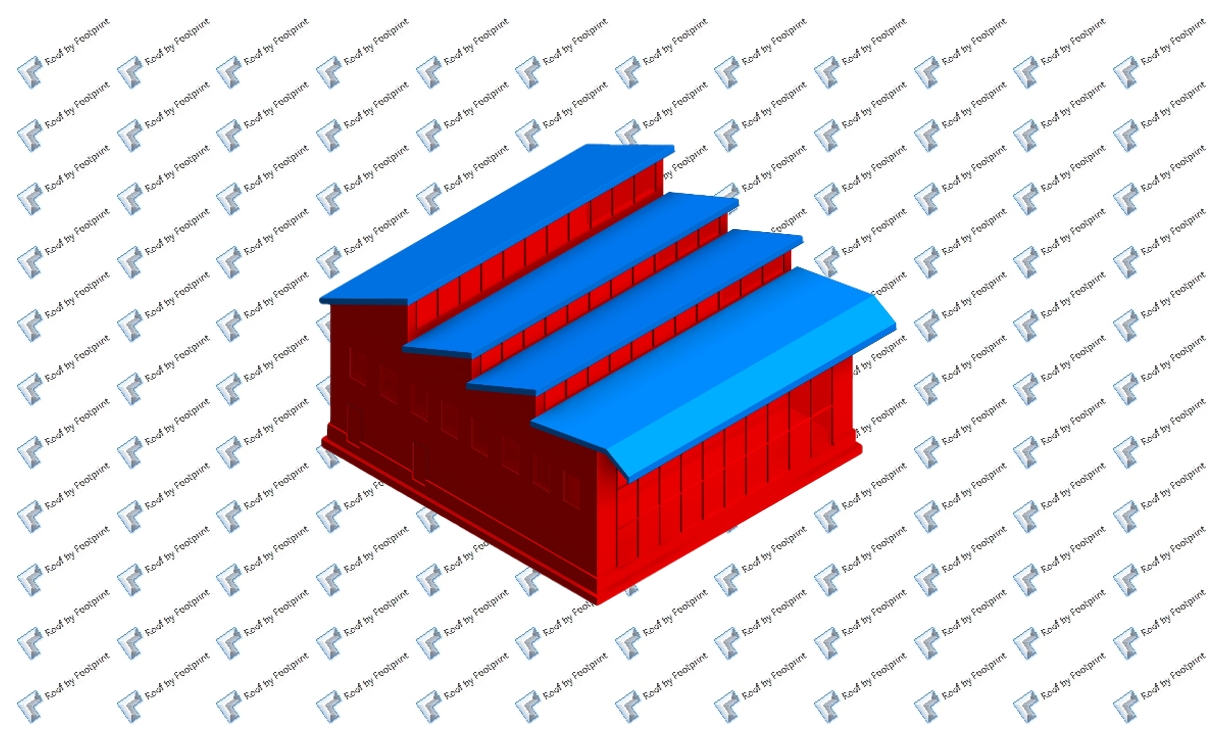
Common Types Of Roofs How To Model Them In Autodesk Revit Agacad

9 Tips To Understand Revit Roofs Revit Pure

Joined Roofs How Do I Hide The Lines Autodesk Community Revit Products

Solved Roof Wall Join One Side Roof Misses Autodesk Community Revit Products

Mass Roof Autodesk Community Revit Products

Flat Roofs In Revit Tutorial Youtube

Autodesk Revit Roof Slope Arrows Youtube

Revit Hsbclt For Autodesk Revit Hsb Academy

Back To Basics With Revit Walls Part 2 Embedding Walls Within Walls Synergis
Https Encrypted Tbn0 Gstatic Com Images Q Tbn 3aand9gcrz7tstu Wftubventb5fdlhybs6oarlpcyis6mwtlparxvkjxp Usqp Cau

Cannot Get Dormer Roof To Join Main Roof Autodesk Community Revit Products

Roof Slope Issue To Ridge Line Autodesk Community Revit Products

Revit Tutorials Roofs Youtube
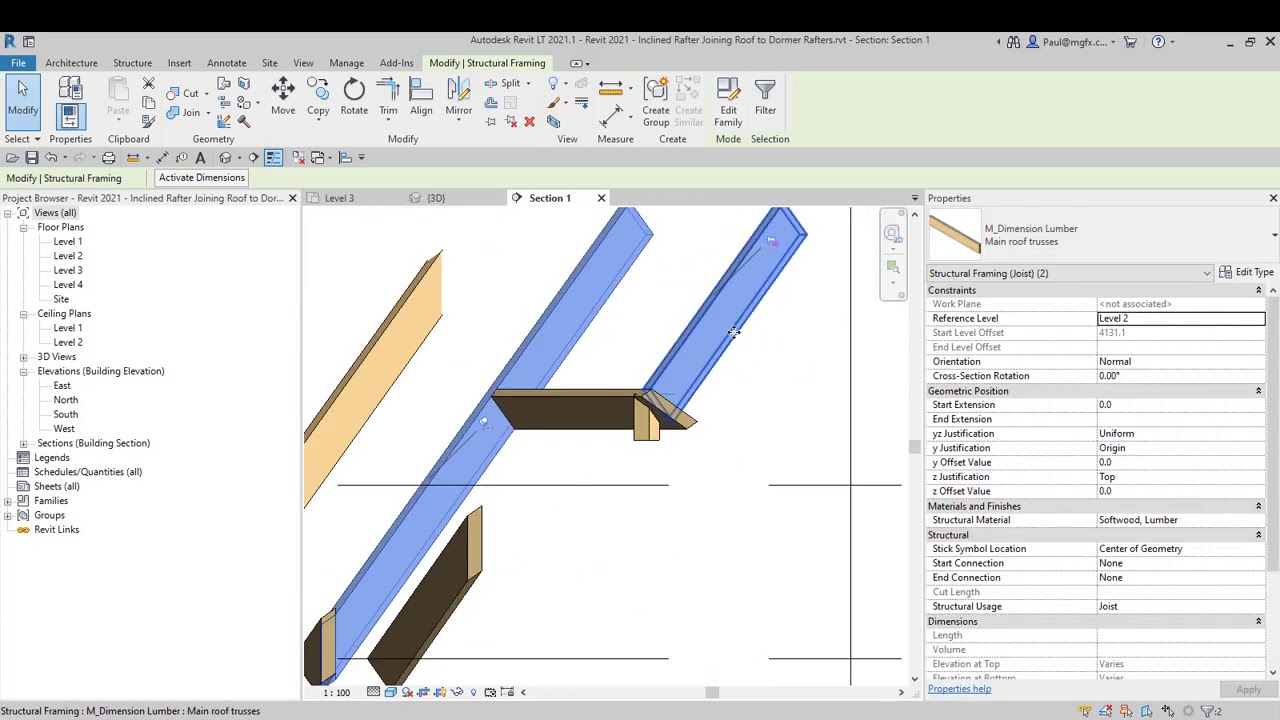
Revit 2021 Inclined Rafter Joining Roof To Dormer Rafters Youtube

Revit Roof Family
Source : pinterest.com
